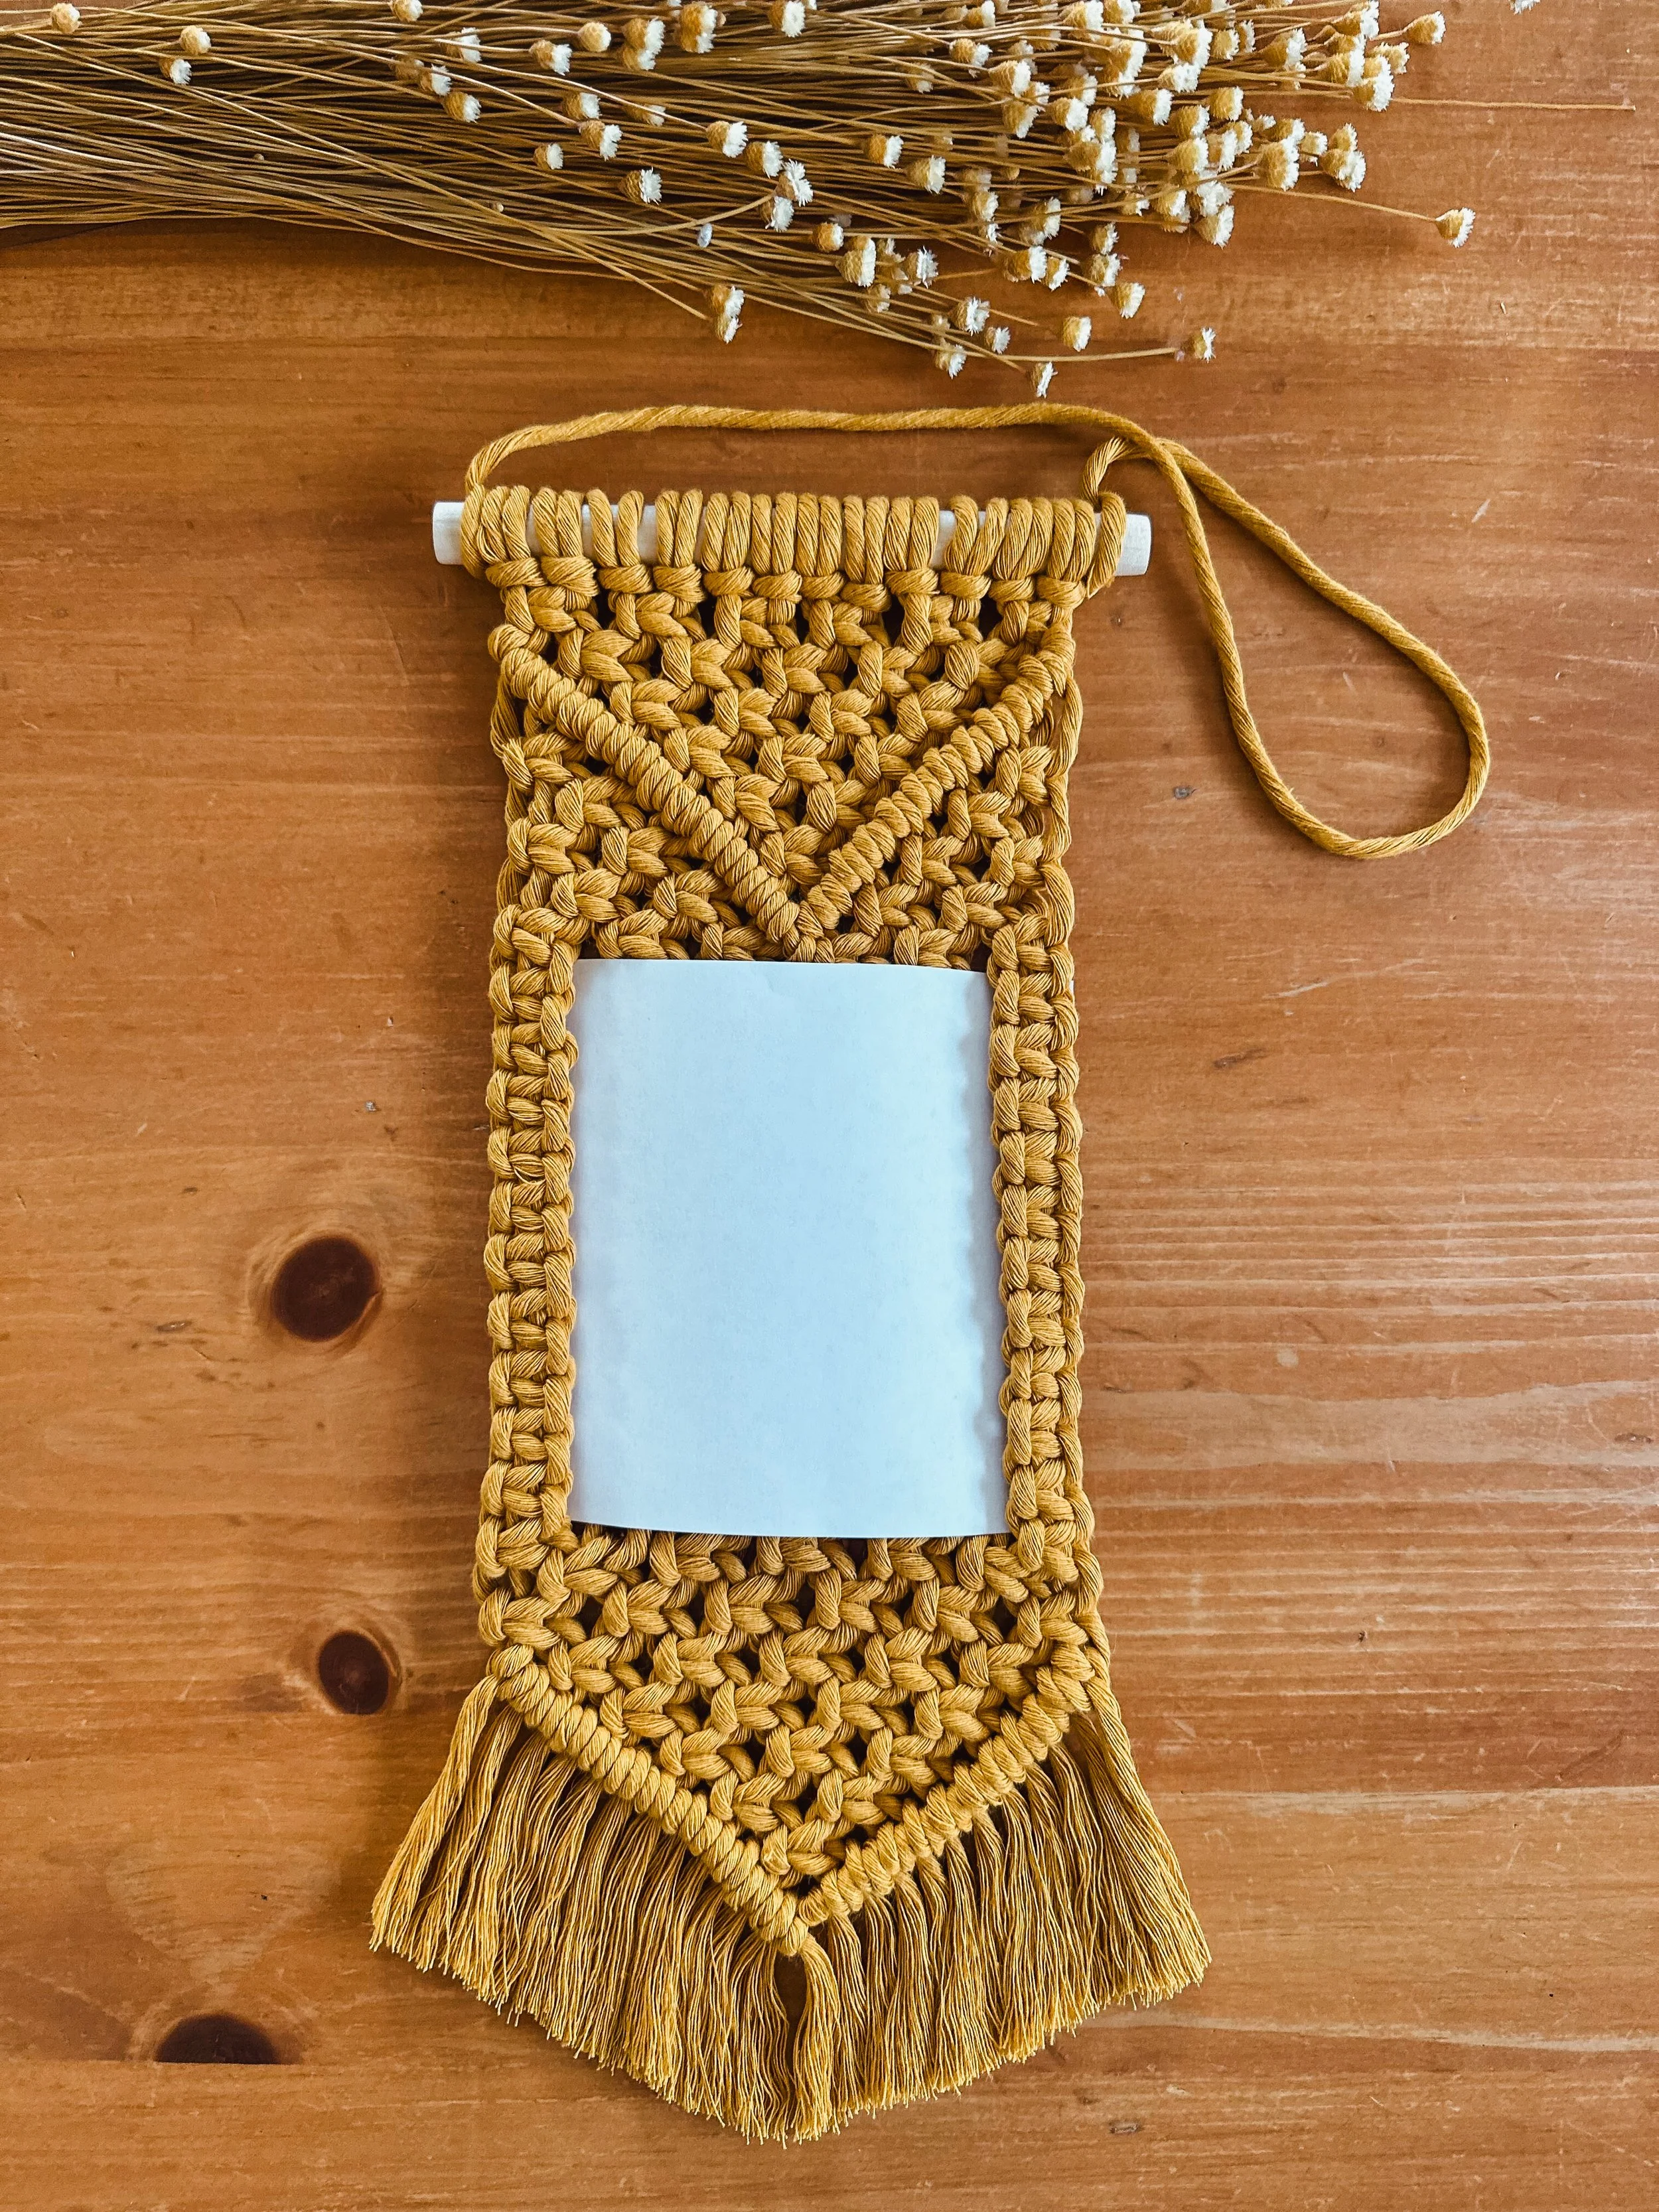
Macrame Photo Frame
Follow along for this handmade macrame photo frame tutorial
For this tutorial you will need:
A wooden dowel (6 inches pictured, 8 inches ideal)
6 pieces of cord at 6 feet each
6 pieces of cord at 8 feet each
1 piece of cord around 2 feet to use as a hanger
A photo around 4”x6” (the photo pictured is closer to 5x5)
Scissors
A brush or comb
Something to measure (I like a hard ruler)
Watch it here on TikTok:
Or Here on YouTube Shorts
Directions:
Watch either of the links below and follow along with the steps
Step 1: Attach 3 longer 8 foot cords on both ends and all 6, 6 feet cords in the middle with a larks head knot.
Step 2: Begin with a row of square knots. Continue the square knots into a V shape.
Step 3: Follow along the V shape of the square knots with a diagonal hitch knot.
Step 4: Fill in around the diagonal hitch knots with more square knots that form an even line with the “V”.
Step 5: Create square knots down both sides depending on image size. Make sure you use the same amount of each side. For the photo below, there were 10 square knots each side.
Step 6: Add additional square knots sporadically behind the photo for support.
Step 7: Make another row of square knots below the photo and continue square knots into another “V” shape.
Step 8: Line the square knot “V” with diagonal clove hitch knots.
Step 9: Trim and brush out the fringe.
Step 10: Use the final 2 foot cord to create the hanger.
Step 11: Secure photo (And maybe add a little tape on the inside for extra support).
*Notes: I printed out this photo with extra room on both sides because I didn’t want any part of the image to be cut off. I’d recommend 0.75 inches on each side OR an image that wouldn’t mind a little side crop.


